
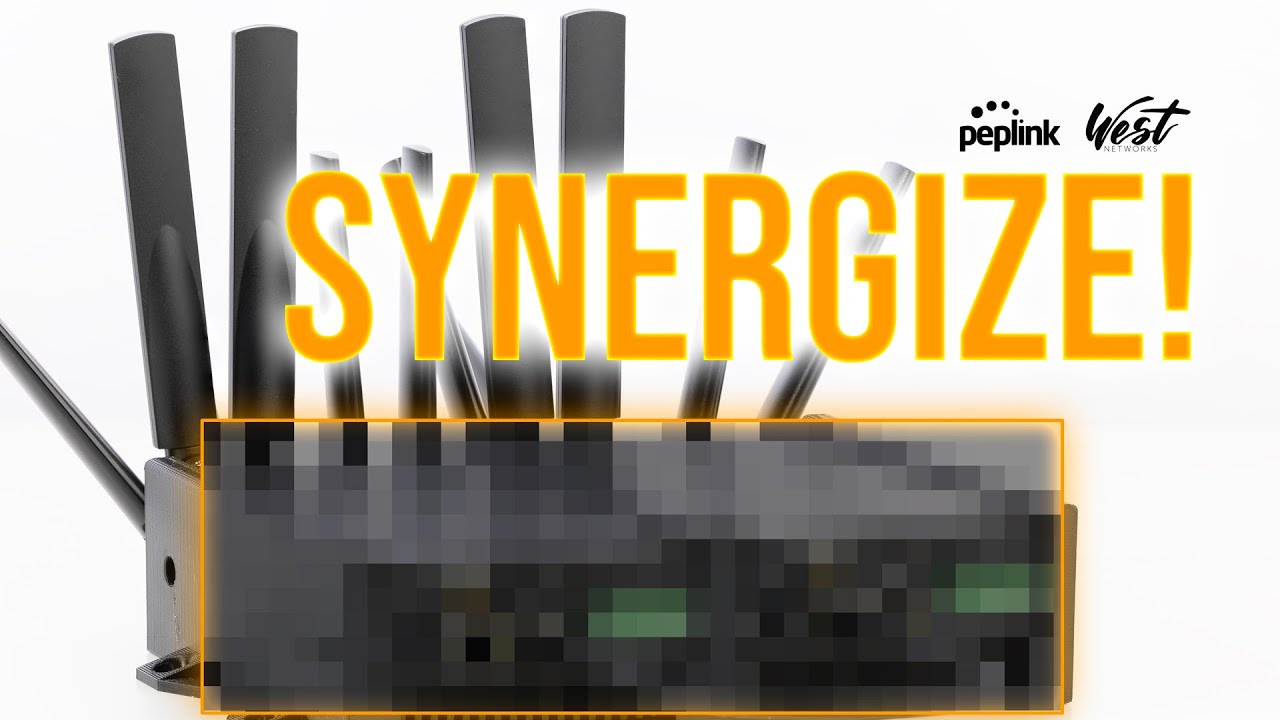
Complete Synergy Mode setup guide →
Synergize multiple Peplink devices and maintain the ability to control them natively under one intuitive UI.
Quad 4G Bonding Router for Under $2500 With Peplink Synergy mode!
Welcome! Join Professor P as he dives into the world of Peplink Transit Duo routers—the unsung heroes of mobile connectivity
Prepping for Synergy:
- Go to 'Network' in the Menu, then go to WAN in the left menu.
- Scroll down to 'Synergy Controller' and click edit
- Choose WAN by clicking the checkbox
- Save and Apply Changes
Renaming Devices in InControl:
- Peter names the two devices "TransitQuad_SC_439E" for Synergy Controller, and "TransitQuadSD_9F0B" for Synergized Device
- For the TransitQuad_SC_439E, go back to dashboard and clicks on the original device name, then click edit, change the device name, then scroll and click Save
- For the TransitQuadSD_9F0B, go back to adding the device. He enters "SD" for the tags, then enters the name under 'Device Name'
- Click Confirm
LAN:
- On the physical routers, plug in the LAN on the SD to the WAN of the SC
- Then, in the router, click on 'Network' in the menu. Then, click on "Untagged LAN"
- He is changing the IP Adress to 192.168.60.1. He changes the IP Range to 192.168.60.10 – 192.168.60.250
- Click Save and Apply Changes
- Go back to Dashboard and refresh the page using the new IP Adress.
- Then, drag 'Cellular 1', 'Cellular 2', 'Wi-Fi Wan on 2.4 GHz -192', and 'Wi-Fi WAN on 5 GHz – 192' up to Priority 1. Now there are 8 internet connections.
Connect to Wi-Fi:
- On the Wi-Fi WAN on 5 GHz, click the Wi-Fi Symbol
- Then, he clicks 'Connect' on WestPepNet, but you may choose your desired connection. Then, enter the password and click 'Connect' and click Close
Choose SFC Location:
- in the menu, click SF Connect, and select "Choose SFC Location"
- Set the SFC Location to Automatic, then click the checkmark.
- Click on the SFC button, scroll down and enable TCP Ramp Up.
- Save and Apply Changes.
Optimize Cloud Application:
- Go back to SFC Connect and Select "Optimize Cloud Application"
- He then adds Google Meet, Zoom, WebEx, Facetime, and Microsoft Teams to Cloud Application by clicking the '+' button
- Click Save and Apply Changes
Link Wi-Fi to SFC:
- Go back to SFC Connect and Select "Route by Wi-Fi SSID"
- Under 'Reference SSID' choose the TransitQuad
- Under 'SSID for SFC', type in TransitQuad SFC and click the '+' button
- Click Save and Apply Changes
Content Blocking:
- In the menu, select Advanced. In the left menu, select Content Blocking
- In 'Application Blocking', Peter selects "Bittorrent" by clicking the '+' button
- Then, under Web Blocking, He selects 'Adware' and 'Pornography' to block by clicking the checkboxes.
- Save and Apply Changes
Firewall Rules:
- Go to InControl
- Go to "Network Settings" in the menu and select 'Firewall Rules'
- Manage Firewall Rules by clicking the checkbox and hit save, then 'OK'
- Click 'Create Rule Set'
- Peter names the rule '"Default" in the top box, then clicks on 'Default' under "Name" in Inbound Firewall Rules, then selects Deny and clicks 'OK'
- Then, under Outbound Firewall, he clicks "Add Rule", and names it 'Deny Regions'
- For Destination, he selects 'Region' and enter China, Russia, and North Korea
- For Action, click Deny. Hit 'OK
- Under Outbound Firewall, select 'Add Rule' again. Name it 'SaaS'
- For Destination, select SaaS. Then, Peter chooses Google Workspace, Microsoft Office 365, and Exchange Online for Government.
- For Action, Select Allow. Hit 'OK'
- Scroll down, enable Intrusion Detection and DoS Prevention by clicking the checkbox.
- Scroll up, go to Content Blocking.
- Under Application Blocking, Peter selects Bittorrent, TikTok, and Tinder by clicking the '+' button. Then, under Web Blocking, He selects Adware and Malware by clicking the checkboxes.
- Click Save.
Related
Comments are closed.
Originally presented on Peplink University with Professor P. Now part of the Connectivity 101 library.