
WAN configuration profiles are new in 2.14.2 and central to zero-touch: define WAN settings once and push them by tag. Found under the group’s Network Settings, this is where the real management payoff of In Control shows up — you configure once and apply to every matching router without logging into any of them.
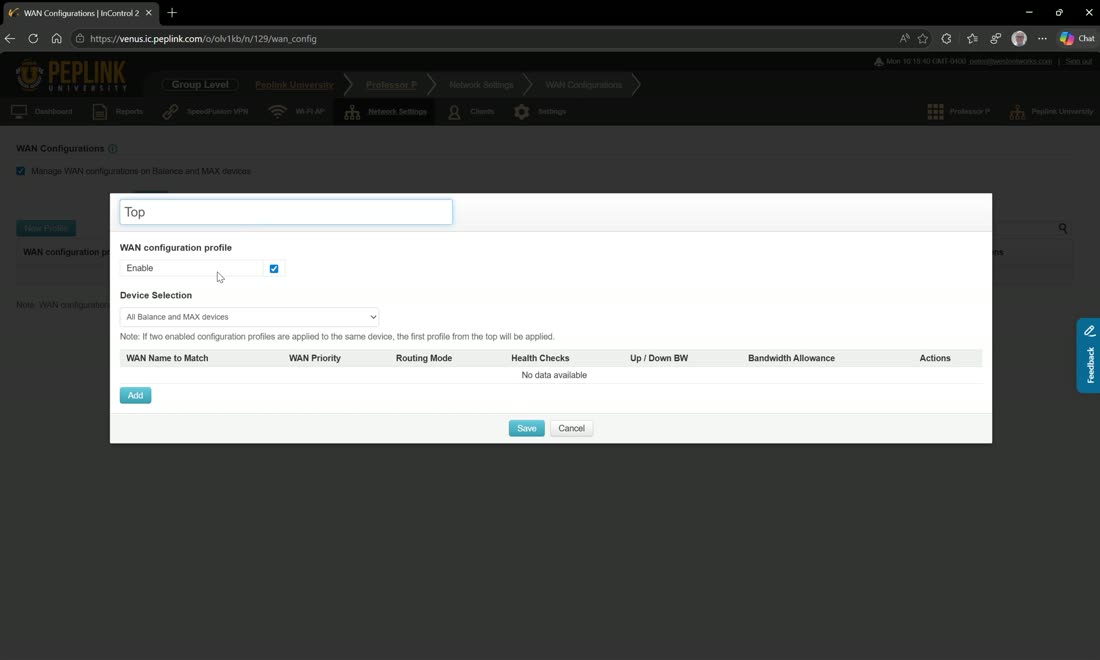
Click add to create a profile, give it a name (e.g. “top”), and target it at routers with any of the following tags. Then add each WAN by name and set its options: WAN priority, reply to ICMP ping, DNS servers (e.g. 8.8.8.8 / 9.9.9.9), bandwidth allowance, and a per-WAN health check.
WAN names are syntax-specific
The WAN name has to match exactly. Cellular 1 works; just Cellular will not — you have to add the number. In the video the WANs are named things like WAN 1, WAN 2 (a Transit in synergy mode), Cellular 1, Cellular Transit 5G, and a VLAN as WAN. Get the name wrong and In Control simply will not push the settings to that WAN, so confirm the router’s actual WAN names on the dashboard first.
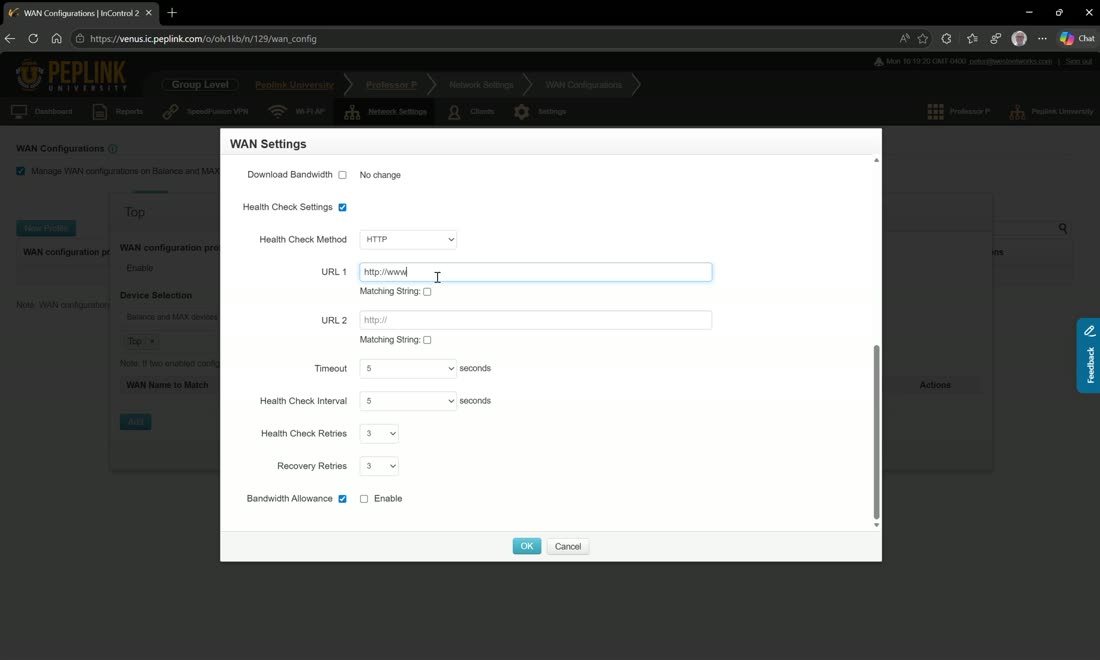
Each WAN gets its own health check. You can choose HTTP/HTTPS (e.g. https://www.google.com), but note an HTTPS target can fail the check where a plain ping would succeed — Peter prefers to test Starlink with a ping (e.g. 8.8.8.8 / 9.9.9.9) rather than an HTTP check for exactly this reason.
Field note
Clone a WAN entry to build the next one quickly — set WAN 1’s priority, DNS, and health check, then clone it for WAN 2, the cellular, the VLAN-as-WAN, and so on. Because it is tag-based, changing a WAN’s priority here (e.g. demote a flaky 5G/Transit to priority 2 and hit save) pushes to every matching device at once — no per-router login. Back on the device dashboard you can watch the settings push through and the WANs re-establish.